Shading Colour Tips
shading colour tips
hey yall its me the Art Mom™ to help you shade pretty
rule 1: DO NOT SHADE WITH BLACK. EVER. IT NEVER LOOKS GOOD.
red- shade with a slightly darker shade of purple
orange- slightly darker and more saturated shade of red
yellow- i think like..a peach could work but make it a really light peach
green- shade with darker and less saturated shade of blue or teal
blue- shade with purple
purple- a shade thats darker than the purple you’re using and maybe a little pink (MAYBE blue)
pink- darker shade of red
white- a really light lavender or blue..or i guess any really light colour??
black- okay listen dont use pure black to colour anything unless you want to leave it with flat colours because you cant really shade black lol
grey- a slightly darker shade of purple or blue (less saturated)
brown- slightly darker and less saturated shade of purple or red
aaaaand thats all i got lol. let me know if there is anything i should add to this list!!
More Posts from Nastysynth and Others
Do you have any advice for maintaining a celebrity's likeness in a drawing without compromising your art style? When I try to draw real people they look completely different from how they should be and my art style ends up totally skewed as well. Thanks in advance!
This is a tough skill to develop! but with some hard work and research you’ll be able to do it!!!
My recommendation is to study professional caricature! Even if the end goal isn’t to do exaggerated crazy portraits of the the celebrity, studying the art form can help you learn to apply those concepts more subtly in your own style!
The key element of caricature is studying a persons face and looking for what makes them unique or different from the ‘standard’ anatomical face model, eg how do their proportions stray away form the ‘rules’.
once you take note of these things experiment by exaggerating them in different ways through quick thumbnail sketches

thumbnails by Court Jones for Proko.com
They might not look like the person right away but keep experimenting! trial and error is your friend!!!
(for more info on Caricature the Proko youtube channel has a whole in depth series by Court Jones the artist above! I Highly recommend checking it out and the other lecture series the channel!)
Once you have done this research you can apply it to your style and design the celebrity just like the design team on Netflix’s BoJack Horseman designed Character actress Margo Martindale! She and many other celebrity cameo’s on the show look like themselves but also like they belong in the world of the show!

The final thought I want to leave you with is: don’t worry too much about art style or let it get in the way of learning new ways to draw. There is a lot of pressure on the internet to find your own unique art style and have everything be consistent all the time but this thinking can actually get in the way of your artistic growth if you focus on it too much or to early.
I Personally dont care about consistency at all in my art, I design the style of the drawing based on the project (eg. am I going to animate this character, is it an illustration, what age group am I targeting? what Genre? if you want to see examples of this I have plenty on my instagram)
I have a lot of feelings on the topic of art styles but I dont want this post to be essay length or take me a week to write so please watch this video by Kesh on youtube about it : Stop Trying to Find Your Art Style He talks about this issue way more clearly and concisely then I ever could!
Hope this Helps!!!
-Mod Todd (ko-fi)

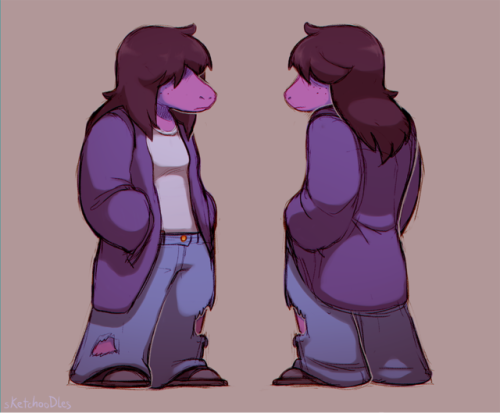
Some fun Susie sketches
color blob effect in clip studio paint


hey! >this post< got a some attention and i saw a tag asking for the tutorial, so i decided to go through with it. here’s that tutorial!
tutorial below the cut!
Czytaj dalej
so playing andromeda and drawing kaleans got me thinkin’ on another minor complaint i have about ME and it’s this:
dang they can’t figure out how to make digitigrade legs work on a humanoid character and they end up adding extra joints to the legs to try to make it make sense
like i watched the animation cycle of that angara working out at the resistance camp and when he started doing crunches and his legs made an M shape i was just like smdh
i mean i think they handle it better with the angara since they have those weird little hand-feet (angara are so cute i cannot stand it) but the worst offender is probably the salarians
anyway i love the concept of humanoids with digitigrade legs so here’s some notes about it. it’s not beautifully formatted or anything but maybe it’s helpful!
basically the main thing to get out of your mind is that you’re not going for “backwards knees.” i am sure backwards knees could work and would be an interesting design, but it’s gonna change how this character moves and sits, it’s gonna affect the character’s center-of-gravity, it’s gonna be a much bigger overhaul of the anatomy than creating a digitigrade leg requires.
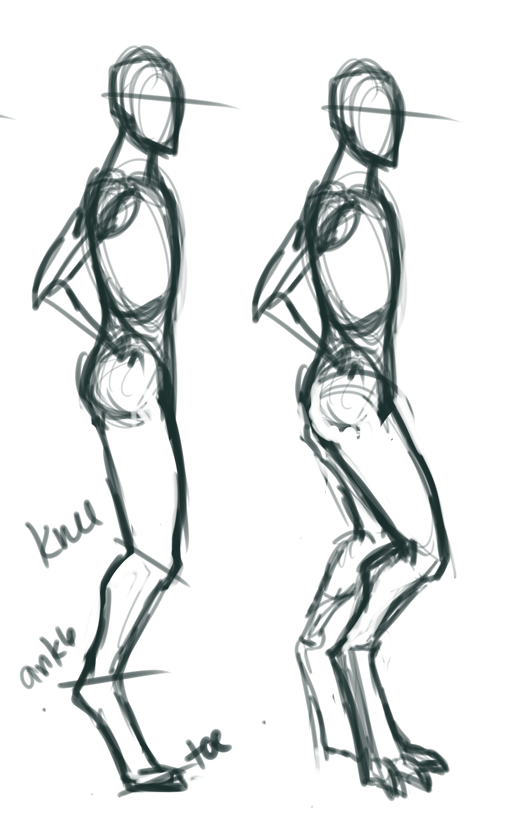
when you’re thinking of a digitigrade leg as having backwards knees, it’s probably because the joint you’re thinking of as the knee is actually the ankle
both plantigrade and digitigrade legs will have four major points of articulation: the hip the knee the ankle the toes and a digitigrade leg isn’t a plantigrade leg backwards, but on its tiptoes:

that’s basically all you gotta do! then you exaggerate the effects by changing the proportions of the leg, starting with making the knee-ankle length shorter, and the ankle-toe length longer.
the benefit of drawing digitigrade characters like this is that they can sit in chairs without looking ridiculous!

and finally, if your character doesn’t have paws or hooves or talons, they probably want to wear shoes! hell, even if they do they still might wear shoes. the ground is nasty! think this through and let it be another cool design opportunity. a good place to start if you’re stuck is looking at wedge heels, then drawing them without the heel!

aaaand here’s some aliens

now get outta here and draw some weird-ass legs aight


people have asked me how i draw eyes so i made an extremely slap-dash eye tutorial! this is simply about how i draw a simple neutral eye, nothing to do with expressions (that’s a whole other thing).
start with the horizontal guide on the face, to help place the eyes. put circles where the eyes will go!
adjust the circles into diamond shapes– i got this idea from sinix design on youtube, it’s very helpful and easier to see where the lids should end than with a circle.
draw the top lid/lash lines, leaving a bit of space at the top of the diamond. keep each eye in time with each other– drawing one whole eye first makes it harder to match the other one.
then the bottom lids. i usually try to do all the lid shapes with a single curved stroke each. keep it simple pals!
irises & pupils. sometimes i’ll draw filled-in black circles for the irises, to help figure out where to place them naturally!
lid creases, use the leftover diamond at the top as a loose guide for where to place them. remember that the lid curves around the eyeball.
make adjustments! things don’t always come out perfect immediately. i usually have to thicken the lash line (i like mine quite thick), move the bottom lid up or down, and sometimes resize a whole eye (easier on computer than traditional, i know!). if you’re on a computer make sure to flip your canvas often so you can see these little things ❤
and to practice, just doodle a lot of small eyes! keeping them small makes them easier and faster to finish, so you can focus on your strokes and playing around with shapes, tilt, lid space, all that. don’t worry about making the irises perfect circles/ovals or any of that, just try to capture the character. have fun!
hi! i love your art, it's so pretty ♥ and you draw feet really well, do you have any tips?
thank you a lot anon!! ( /)w(\) here, i made a few notes about the steps i follow while drawing feet:

^ that’s assuming you’re not drawing from a low perspective, as if the camera was on the floor or something like that!


SORRY MY HANDWRITING SUCKS and i’m not really good at explaining things bc i don’t really follow a guide and stuff so yeah BUT I HOPE IT WAS HELPFUL TO YOU!!
I have two questions! First: have you ever thought of doing a tarot card suit for your characters? I think it'd work really well for them! And two: help me how do I draw legs
@gravitality
Hi!! I’ve absolutely been thinking about that, yeah, in fact I recently talked about that to my boyfriend just recently. It’ll likely happen after october! And to answer your second question! I made a thing on legs that i hope you’ll find useful!!
So. I’ve already explained basics on legs here, but I don’t think it hurts to go through some extra details to help you understand legs some more.

The very basic thing is to imagine legs as teardrops. Again, this has already been covered in said tutorial above, but I figured it’s still good to mention even the most basic thing that I know of. I still highly recommend you check it out to get in more detail and to see some other examples and practices that you do. But basically, think of legs in the shapes of teardrops, when it comes to shape. If you need a simple stick-figure to connect the legs in the first place, make sure that they bend at the knees a bit so that the legs don’t come off as stiff and unnatural.

As you can see, this method works perfectly for realistic legs as it does for stylistic ones. Remember to use these as a guideline, never to be the exact base of the legs you will be drawing. If you draw traditionally, remember not to draw these guides too hard, or they will be hard to erase/do freestyle!

But how do you actually draw out the legs without drawing them perfectly straight, as shown to the left? The trick is to add volume to them, and how you do that can be winged to your own liking. The idea is to think in curves. As no leg is perfectly straight. You may make these curves minimal if you don’t want them to be curvy, but keep in mind, still, that not even your own bones are perfectly straight, so it is highly recommended that you make them bend, at least a little.

It all depends on how you draw them as well. Say you put your legs together, as shown in this picture, what happens to the fat and muscle? Naturally, they press together, much like how thighs squish on the surface when you sit down (I’m sure most people know what I’m talking about). Make sure this shows in your art! This is very important to keep in mind, because it makes it all look more natural and believable. Try to cross your legs or stand up and sit down again for real-life examples!


The same applies for stretching your legs, more or less, except they appear to become more ‘hollow’ and slimmer. They become less soft to the touch, too, and might show. Try stretching your legs and feel where the muscles tense and where it feels ‘hollow’. This is very helpful with your art.

Many leg tutorials talk about legs without mentioning the behind. It requires a tutorial on it’s own, in all honesty, but this is the most simplest way to draw it connecting to the legs. Remember that it comes in many different shapes, and this is just a super basic guide! Two circles overlapping, while following the line and flow of the legs. Remember the muscle/fat as mentioned above!

Okay, so we got the basics of leg shapes figured out? What if you want o draw them in a certain pose, or with a certain silhouette, but perhaps do not have the reference for it? Or you want to blend your style into it? The key is to not shy away from doodling the form. Make mess, draw lightly and don’t care about the anatomy. That way you’ll get everything down without it appearing stiff. You can clean up the sketch later, always, and if you can, use a reference after you have drawn your pose, to correct your drawing.

Remember that the hips do a lot to the pose of the legs! Make sure they are in flow with your legs, so that it can look more natural. Remembers that hips ‘rotate’ with the spine.

I’ve talked about this method before when it comes to posing, and the same applies for the legs. One way to make legs appear ‘steady’ is to picture them standing in a line, and one of those legs need not to stray from the lines too much, making it steady. If you want a dynamic pose despite the steady pose, you can always have the other leg stray from the line, since it only matters that one leg is steady. This method can create good, casual poses without making them appear boring. (also notice how the teardrop shapes are used here, despite the highly stylized legs)

Do you want a highly dynamic pose, or them to appear unsteady, then skip the line entirely and make both legs aim away from it completely. As you can see, the legs appear more moving, in action, as if they’re fighting, falling, or dancing. As you can imagine, this is not a pose that one could stay steady on, suggesting that it’s taken mid-movement. More about posing and this ‘line’ method is talked about in this tutorial.
Hope this helped you, if you have any questions let me know, and if you’d like to check out all my tutorials they can be found here!


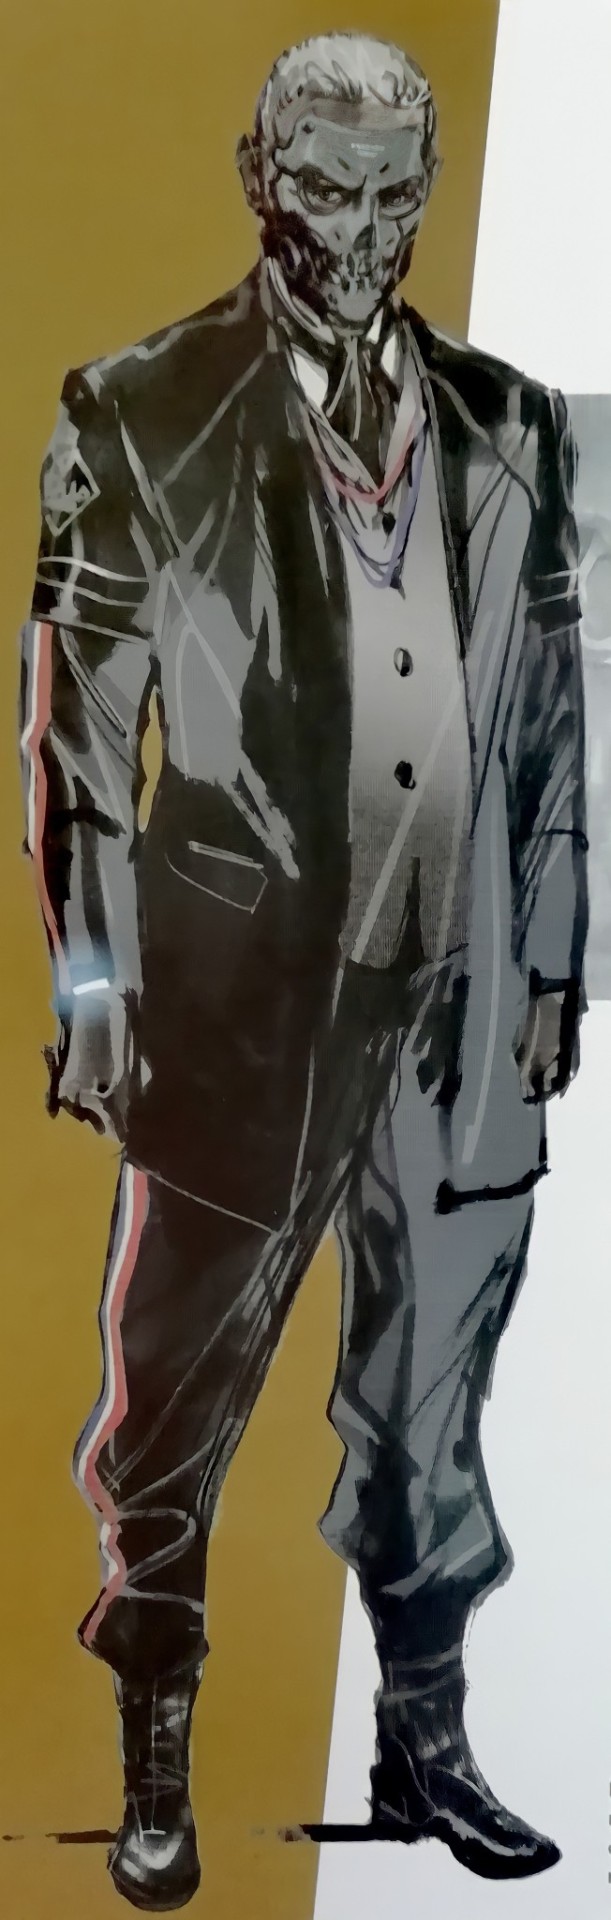
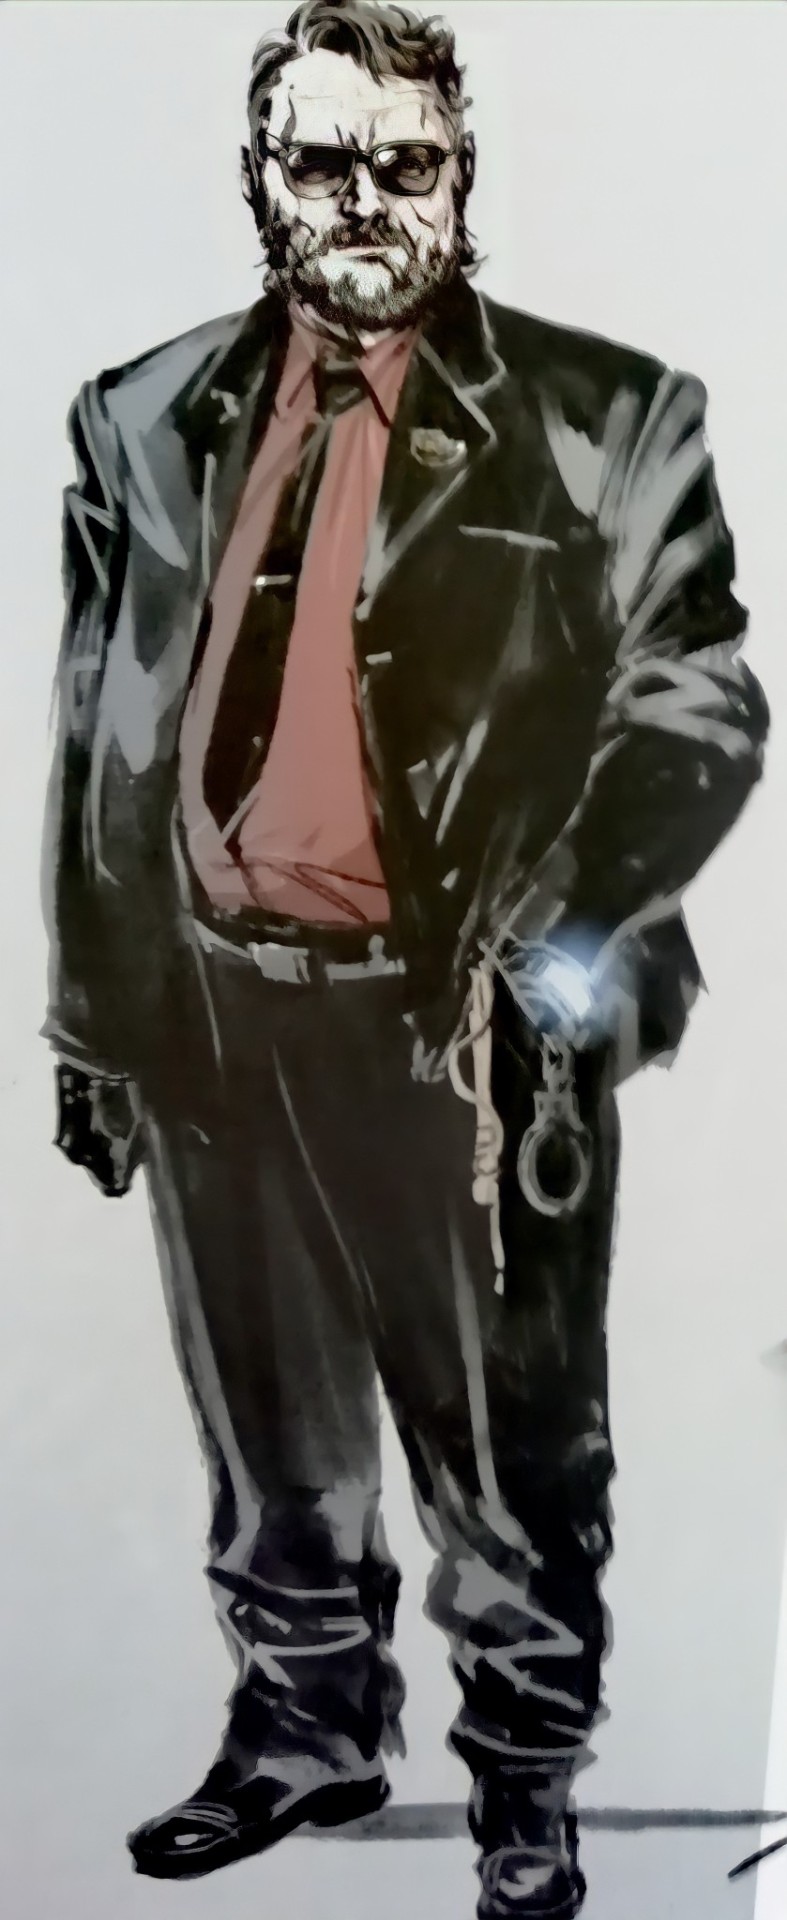
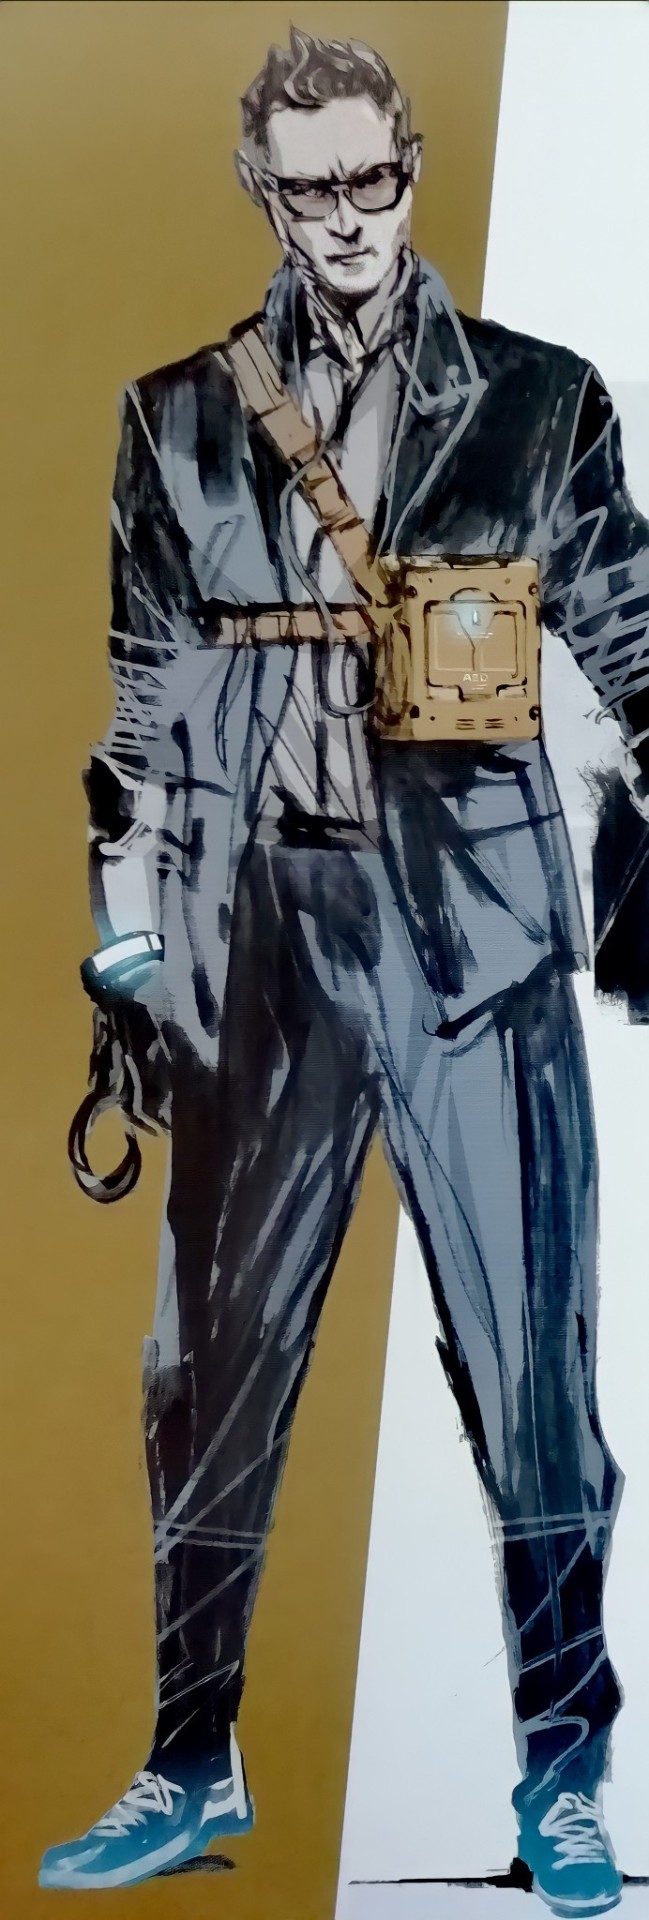

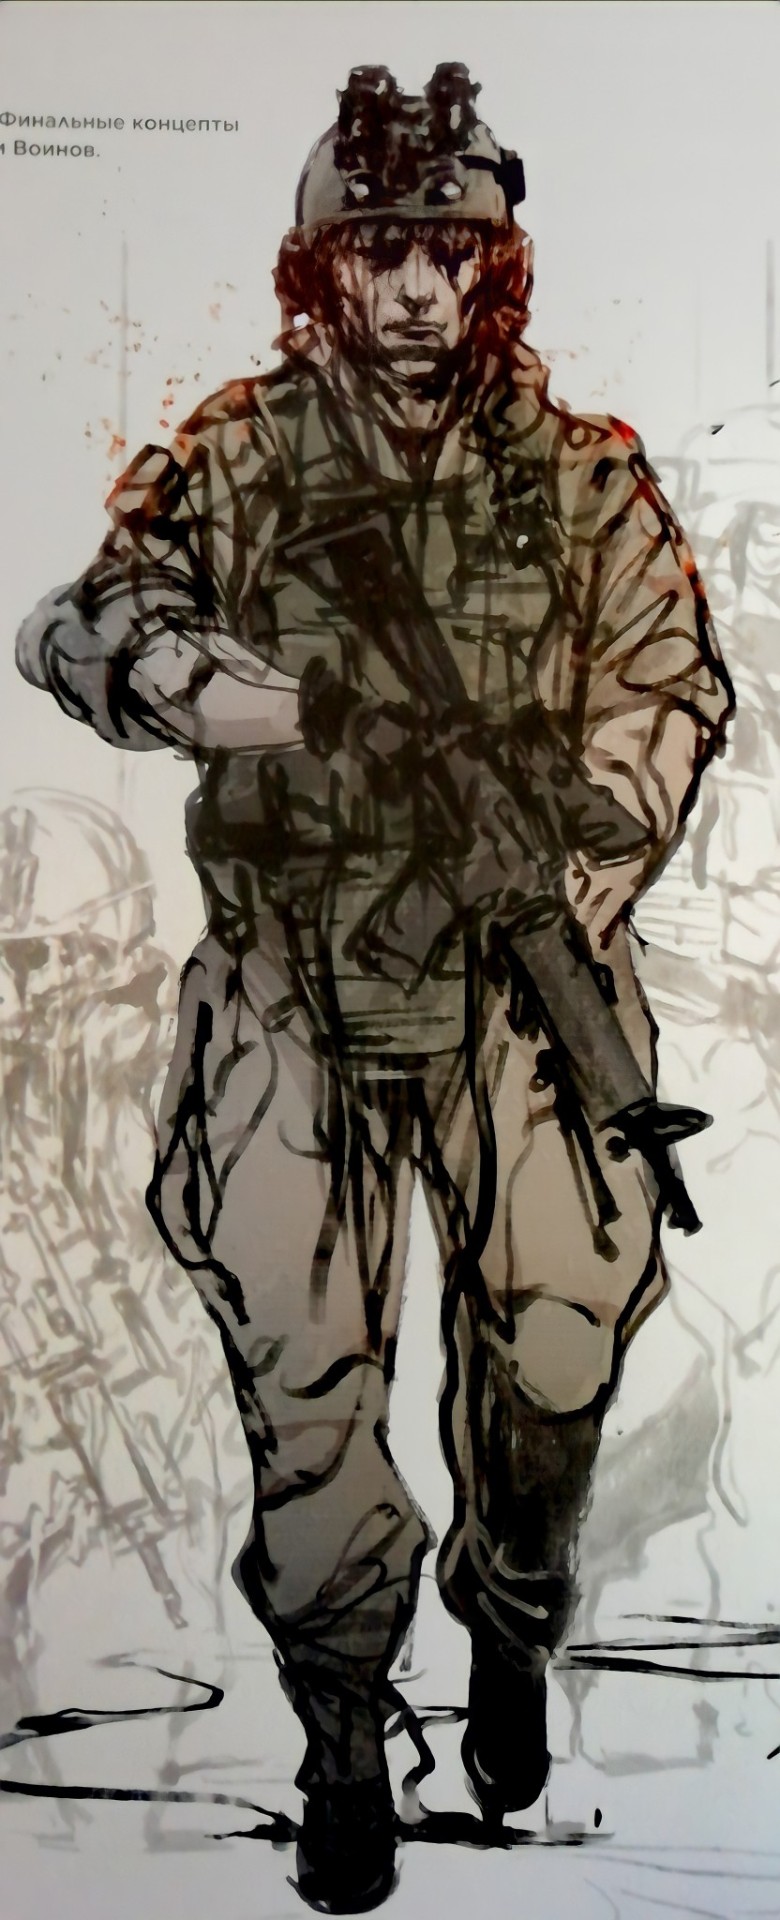
Art of DEATH STRANDING
More helpful art tips 2
* leads to a twitter thread Tutorials
Drawing a mountain with volume*
Painting the chest*
Color in Painting [Part 1][Part 2][Part 3]*
30+ lessons on drawing in perspective
Six types of fold when drawing drapery
Using references*
IMAG master classes (paid)
Planning values*
Reference
Knee Movements*
Kato Anatomy*
Making Products
A beginners guide to zines
Opening an online store [Part 1][Part2][Part 3]*
Studying Design for TV animation (on a budget)
Lighting in a room*
Windows
Bricks
Form rendering cheat sheet
Brushes
Drawmaevedraw brush set (ps)
Traditional Texture Brushes for Photoshop and Procreate (paid)
Other Resources:
Huge list of resources w/ a focus on getting into the animation industry.
Thread of study resources*
Resume guide (for an internship at nickelodeon)
Agents for Illustrators
Filing Taxes as a freelancer
3D art
Low poly horror in blender (paid)
Blending grass with the landscape (UE4)*
Ghibli Style trees in 3d (Blender)
Spritestack - a voxel editor suited for 2D artists.

Process of one of my drawings of Ardyn!
-
 eclecticpassion reblogged this · 6 days ago
 -
eclecticpassion liked this · 6 days ago
-
 oddmothwingartist liked this · 6 days ago
 -
 vampmaidenslair reblogged this · 6 days ago
 -
vampmaidenslair liked this · 6 days ago
-
 psycho-wolf463-blog liked this · 1 week ago
 -
 meanisok liked this · 1 week ago
 -
 litheblossom liked this · 1 week ago
 -
 skittishstargazer liked this · 1 week ago
 -
 just-existing-as-you-do-blog liked this · 1 week ago
 -
 demidruid reblogged this · 1 week ago
 -
demidruid liked this · 1 week ago
-
 suminshifts liked this · 1 week ago
 -
 froggybleps liked this · 1 week ago
 -
 yesmynameischristmas liked this · 1 week ago
 -
 makincomics reblogged this · 1 week ago
 -
 silvertongueddragon liked this · 2 weeks ago
 -
 strawberrycream9 liked this · 2 weeks ago
 -
 penthepoet reblogged this · 2 weeks ago
 -
penthepoet liked this · 2 weeks ago
-
 renicrusecal liked this · 2 weeks ago
 -
 yceptomniversstudios reblogged this · 2 weeks ago
 -
 b-drawssometimes reblogged this · 2 weeks ago
 -
 friendly-neighborhood-chicken liked this · 3 weeks ago
 -
 narendur liked this · 3 weeks ago
 -
 butabitconfused reblogged this · 3 weeks ago
 -
 pastellepastary liked this · 3 weeks ago
 -
 crownlandssun liked this · 3 weeks ago
 -
 mannequia reblogged this · 3 weeks ago
 -
mannequia liked this · 3 weeks ago
-
 mortellanarts liked this · 3 weeks ago
 -
 melonisopod reblogged this · 3 weeks ago
 -
 sk8-strawberrymilkshake liked this · 3 weeks ago
 -
 red-h0t-f1re liked this · 3 weeks ago
 -
 artking-4 reblogged this · 3 weeks ago
 -
 sophi-coby-art liked this · 3 weeks ago
 -
 puer-natus-ab-astris liked this · 3 weeks ago
 -
 starlantern reblogged this · 3 weeks ago
 -
 thetravelershub liked this · 3 weeks ago
 -
 slayers-sd liked this · 3 weeks ago
 -
 remnantmachine liked this · 3 weeks ago
 -
 the--pony-box reblogged this · 3 weeks ago
 -
 marsinsane liked this · 3 weeks ago
 -
 calypsotea liked this · 3 weeks ago
 -
 vore-goblin reblogged this · 3 weeks ago
 -
 coolio1738 reblogged this · 4 weeks ago
 -
coolio1738 liked this · 4 weeks ago

Sylwester | i will mostly post sketches, because i'm too lazy to end them
196 posts