Ceremonial Dress Of Electoress Magdalena Sibylla Of Saxony. Circa 1615.

Ceremonial dress of Electoress Magdalena Sibylla of Saxony. circa 1615.
More Posts from Clusterfrock and Others

Day Dress
c.1855
England
This type of widely protruding skirt that appeared around the middle of the 19th century came to be known later under the name of the "crinoline style." As can be seen with this dress, large design motifs proved immensely effective on these voluminous skirts. The border pattern here is wood-block printed and repeats every 20.6 cm. Compared to small-scale designs, large patterns require a solid technique to avoid misalignment of the print colors. Considering that this mixed fabric of silk and wool is a material hard to print on, this dress with its bright and cheerful colors is a particularly fine example on how much cloth printing techniques had evolved.
The Kyoto Costume Institute


bodice, waistcoat
c. 1615-1618
linen, silk, silver, silver-gilt, metal, hand-stitched
Glasgow Museums
Stripes, my beloved, I see you there.

Revue de la Mode, Gazette de la Famille, dimanche 26 septembre 1886, 15e Année, No. 769
Print maker: A. Chaillot; Printer: P. Faivre; Paris
Collection of the Rijksmuseum, Netherlands
Keep reading
Hello, yes, it's me with three 1850s transformation gowns, a wrapper, and all the accessories for them, all needed just five months from now.
“How’s your WIP going?”

"Have you made any progress?”

“How close are you to being done?”


Back in 2015, I made this skirt for an 1860s ballgown. I wanted to make a daytime bodice to give the gown more wearability outside of formal events, but I had run out of fabric and since the fabric had lived in my stash for years, it had been discontinued long ago. I had a minor fabric miracle when I discovered some similar plaid taffeta on Etsy! I scooped it up and decided to make an 1850s bodice, since tiered flouced skirts like this were super popular then.
This bodice ate fabric, and I think I used three or four yards in total because the sleeves are massive and multi-layered. There is a black lace/fringe trim on the bodice, which you can’t see very well in pictures but is lovely in person.
The cap and bodice were made to accompany the new ensemble. The cap is made entirely from things found at Walmart, and the materials for the bonnet came from my fabric stash.


Started on a new fall ensemble! This amazing gown is from a Tischbein portrait from 1770! I’m halfway through the petticoat now, and will hopefully be finishing it up in the next few days.
I’m using two shot taffetas for this dress - a blue/green taffeta and a red/yellow taffeta (that looks bright orange!). Things are going a bit slowly because there is a lot of hand-sewing involved. The hem on the petticoat is 2″ deep and all had to be hand-sewn. The edges on the fabric ribbon that will become the box-pleated trim also had to be hemmed by hand, all 360 inches! It was horrible, and now it looks like I’ll have to add another length of fabric on, so that’s another 120 inches to hem! Yeesh. I’m still hoping to wrap the petticoat up by the end of the week, though!
Trying to chart out a border element from embroidery in a historical context

Accidentally created Godzilla instead


This project is finally finished! I started this dress back in July '24, thinking that I had plenty of time to finish it before my trip to Dickens on the Strand in December. Of course, I grossly underestimated my ability to get distracted, so I was, as is tradition, finishing this dress up in the hotel room the first night of the event. But hey, at least it was finished!
Things started with the skirt, which was based off several designs I kept seeing in 1850s fashion plates that have tiered skirts with ruffles on them. I had always slated that amazing plaid fabric for something mid-Victorian, and the ruffles seemed like a good way to accent such a busy fabric, and to help keep fabric usage down, as I only had 9 yards of the plaid.


The ruffles were attached to a plain black panel, which was then attached to a plaid panel, which was gathered onto the skirt base, which was also made of plain black taffeta.


I hadn't decided on a bodice design when I first started, and when it came time to make it I was definitely in a time crunch, so it's pretty much a straight make of Truly Victorian's TV440. The front closes with hooks and thread bars, but I ended up making it slightly too small, which led to gapping over the bust. I didn't have time to fully address this before the event, so I made a fichu in black taffeta that I could wear to cover it.

To make the fishu, I traced the back bodice pattern onto the fabric, then just drew in the tails in chalk. I mocked it up in cotton first, and then cut it out in taffeta. If I were to do it again, I would remember to put the taffeta on the bias so it would stretch over my bust correctly. The taffeta was also super slippery on top of the bodice, which was also taffeta, so even though I intended to wear it like a sontag, as seen above, I ended up wearing it with the tails down in front.

The undersleeves were finished in the hotel room just before my first event. You can't really see them in any of the pictures, but they definitely helped make the outfit feel complete, and I didn't have my naked forearms flapping around for all the world to see!
There's a much more in-depth writeup on my main costuming blog, including a lot of skirt math!
A very useful resource!
Oh hey, do you know what time it is? It is highly specific resource time!
Today we have the Royal School of Needlework Stitch Bank! There are HUNDREDS of stitch types in the RSN Stitch Bank.

And more added regularly, let’s look at a recent addition
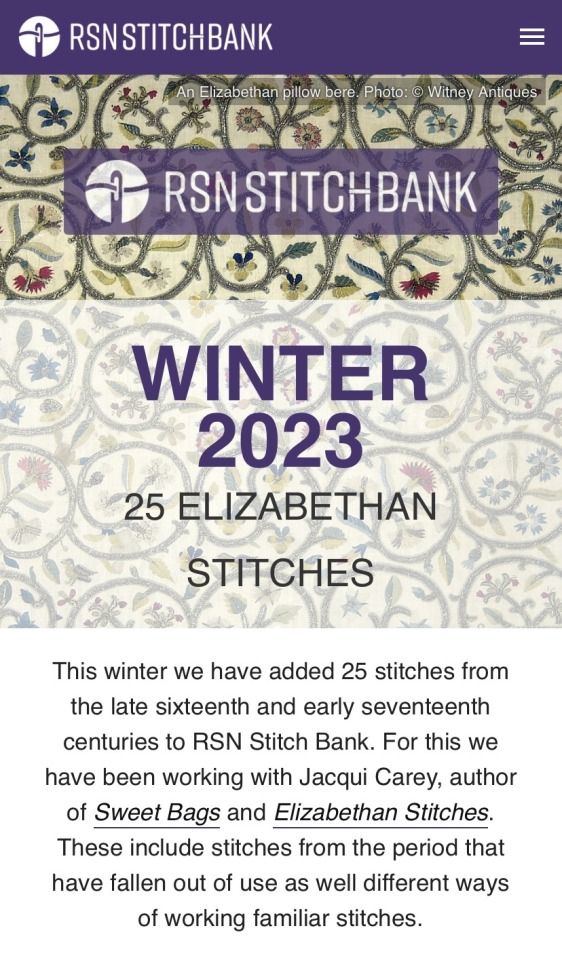

I picked the first one in the 25 recently added Elizabethan stitches, the Elizabethan French Stitch

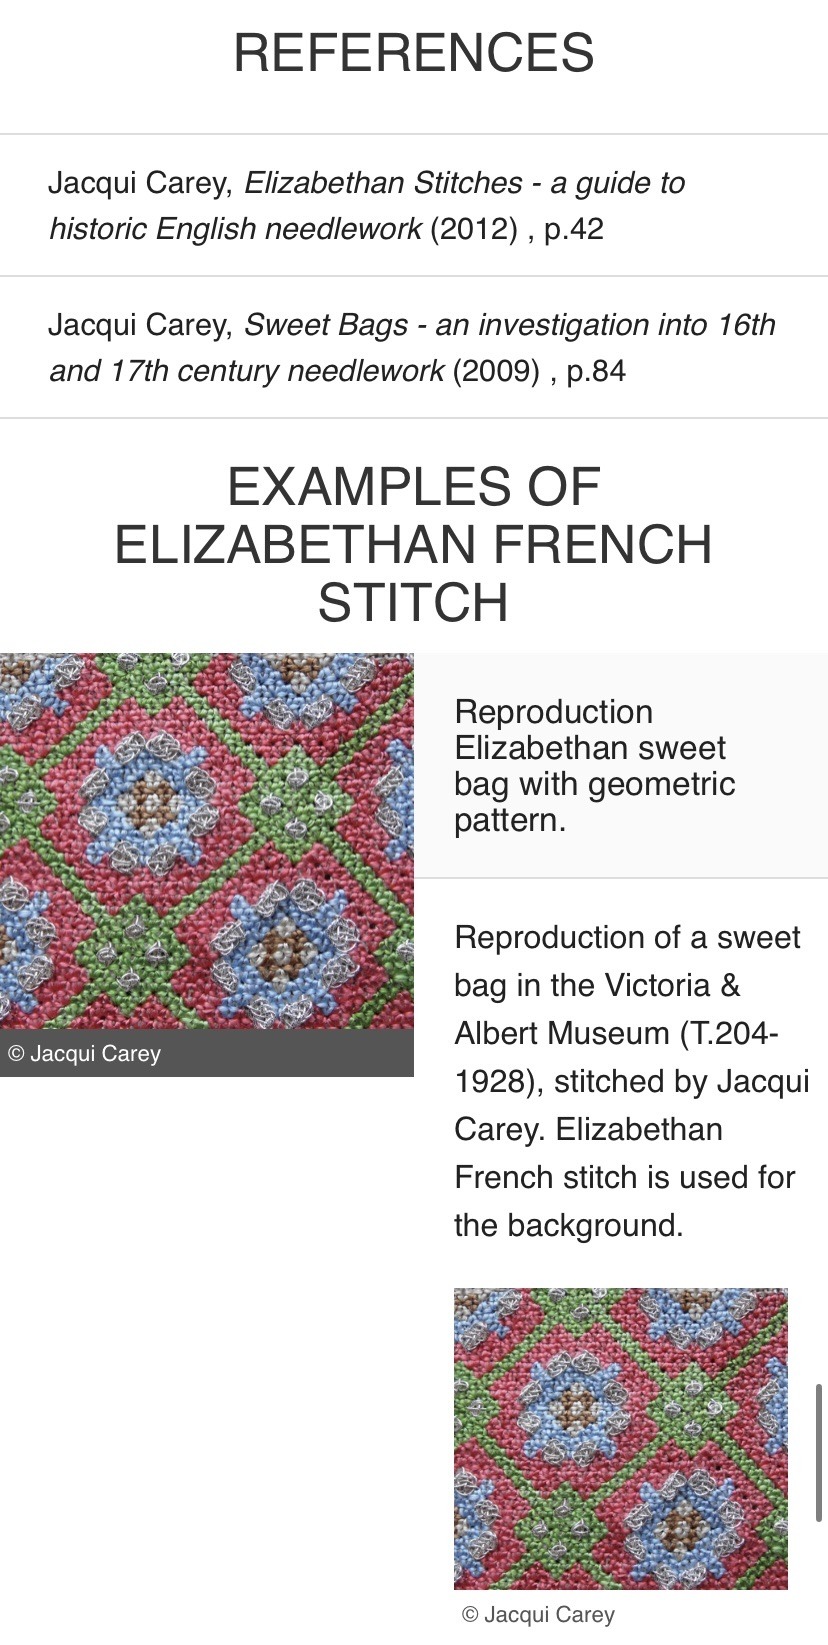
The stitch bank provides written and photo tutorials as well as a video option to learn to do it yourself. There are examples of the stitch in use, resources, references, everything but a needle and thread!
rsnstitchbank.org


La Mode nationale, no. 17, 25 avril 1896, Paris. Notre patron découpé (Grandeur naturelle). Corsage à pointe. Bibliothèque nationale de France
Détails et Explication du patron découpé:
Ce modèle forme pointe devant très court sur les hanches; des coques de même étoffe, doublèes de soie assortie, forment petite basque; les pinces sont ornées d'un galon brodé. (This model has a pointed front shape, very short on the hips; shells of the same fabric, lined with matching silk, form a small peplum; the clips are decorated with an embroidered braid.)
Ce patron se compose de six morceaux. (This pattern consists of six pieces.)
No. 1. — Le devant. (The front.)
No. 2. — Le premier côté; un cran indique le raccord au devant. (The first side; a notch indicates the connection at the front.)
No. 3. — Le deuxième côté; deux crans indiquent le raccord au premier côté. (The second side; two notches indicate the connection to the first side.)
No. 4. — Le jockey de la manche. (The jockey for the sleeve.)
No. 5. — Le dos, coupé long de façon à former une coque en repliant le bas à l'endroit indiqué par un cran de chaque côté. (The back, cut long so as to form a shell by folding the bottom at the place indicated by a notch on each side.)
No. 6. — La manche ballon, demi-longue; un trait à la roulette indique le dessous. (The balloon sleeve, half-length; a roulette line indicates the bottom.)
Métrage: 1m,50 tissu grande largeur; 0m,70 soie ou satin pour l'intérieur des coques.
-
 lovevapour reblogged this · 1 week ago
 -
 mossxbby reblogged this · 1 week ago
 -
 pistol-witch liked this · 1 week ago
 -
 collectivecoma liked this · 1 week ago
 -
 lake-lady reblogged this · 1 week ago
 -
 annakin14 reblogged this · 1 week ago
 -
annakin14 liked this · 1 week ago
-
 theserpentsadvocate liked this · 1 week ago
 -
 copperarsenite reblogged this · 1 week ago
 -
 midnightinpictures reblogged this · 2 weeks ago
 -
 archive-moth liked this · 1 month ago
 -
 robbyrobinavitch liked this · 1 month ago
 -
 lordlykisses reblogged this · 1 month ago
 -
 cowhidepillowcase liked this · 1 month ago
 -
 mochalep liked this · 1 month ago
 -
 saintcirce reblogged this · 1 month ago
 -
 hiroshimadust liked this · 2 months ago
 -
 dog-of-ulthar liked this · 2 months ago
 -
 deepspacememes reblogged this · 2 months ago
 -
 chocolateinthelibrary liked this · 2 months ago
 -
 kaijubluedreams reblogged this · 2 months ago
 -
 arcane-constellations reblogged this · 2 months ago
 -
arcane-constellations liked this · 2 months ago
-
 oldgirlyoungcrone reblogged this · 2 months ago
 -
 lolitacocktails reblogged this · 2 months ago
 -
 moonkeep liked this · 3 months ago
 -
 thegodawfulgatsby reblogged this · 3 months ago
 -
 casper7319 reblogged this · 3 months ago
 -
 vinterskald reblogged this · 3 months ago
 -
 interstellarbeams liked this · 3 months ago
 -
lordlykisses reblogged this · 3 months ago
-
 catherinebronte liked this · 3 months ago
 -
 blue-skies-and-brown-eyes liked this · 3 months ago
 -
 livingolivial liked this · 3 months ago
 -
 prettiestpinklolipop liked this · 3 months ago
 -
 hereticaas liked this · 3 months ago
 -
bbycakks liked this · 3 months ago
-
 pegasusdrawnchariots liked this · 3 months ago
 -
 dontworrymum-differentiscool reblogged this · 3 months ago
 -
dontworrymum-differentiscool liked this · 3 months ago
-
 loveyoudelrey reblogged this · 3 months ago
 -
 z-e-l-d-s reblogged this · 3 months ago
 -
 kesters reblogged this · 3 months ago
 -
 clare-guilty reblogged this · 3 months ago
 -
 silverdawnarrow reblogged this · 3 months ago
 -
silverdawnarrow liked this · 3 months ago
-
 hapenny-rags reblogged this · 3 months ago
 -
 sweetessenseoasis liked this · 3 months ago